What Is in the Manual Slipper Making Set
A hawai chappal has four steps: cut the sole, make the strap holes, fit the strap, finish the edge. Printing a design or a brand name is an optional fifth. The manual set gives you one tool for each of these, so you are not buying a press and then finding you still cannot finish a pair.
Sizes, weights and the drill motor rating are not on our published sheet. Ask us for them, along with the exact sizes of dies that come in the set, before you order.
The Five Pieces, One by One
| Piece | Job | What to watch |
|---|---|---|
| Spring (cutting) machine | Pushes the die through the sheet to cut soles | Sharp die, smooth block, hands clear |
| Sole dies | Set the shape and size of each sole | One die per size you sell |
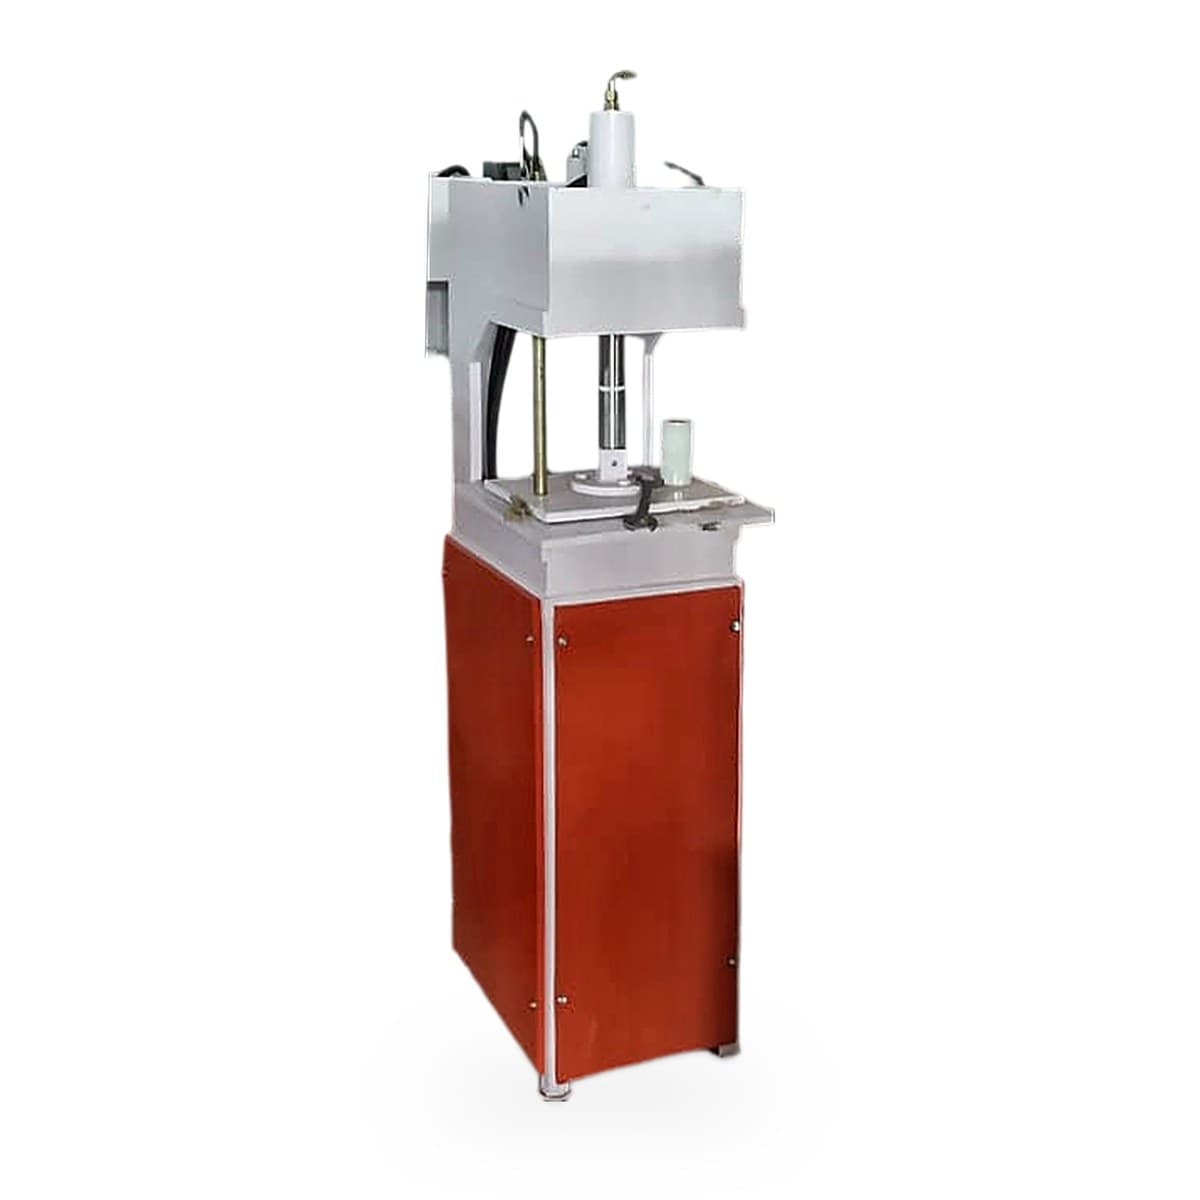
| Drill-cum-grinder | Drills strap holes, grinds sole edges smooth | Holes in the same place on every sole |
| Strap binding table | Station for pulling straps and plugs through | Straps sorted by size beforehand |
| Printing board | Prints a design or name on the sole | Even ink, sole held flat |
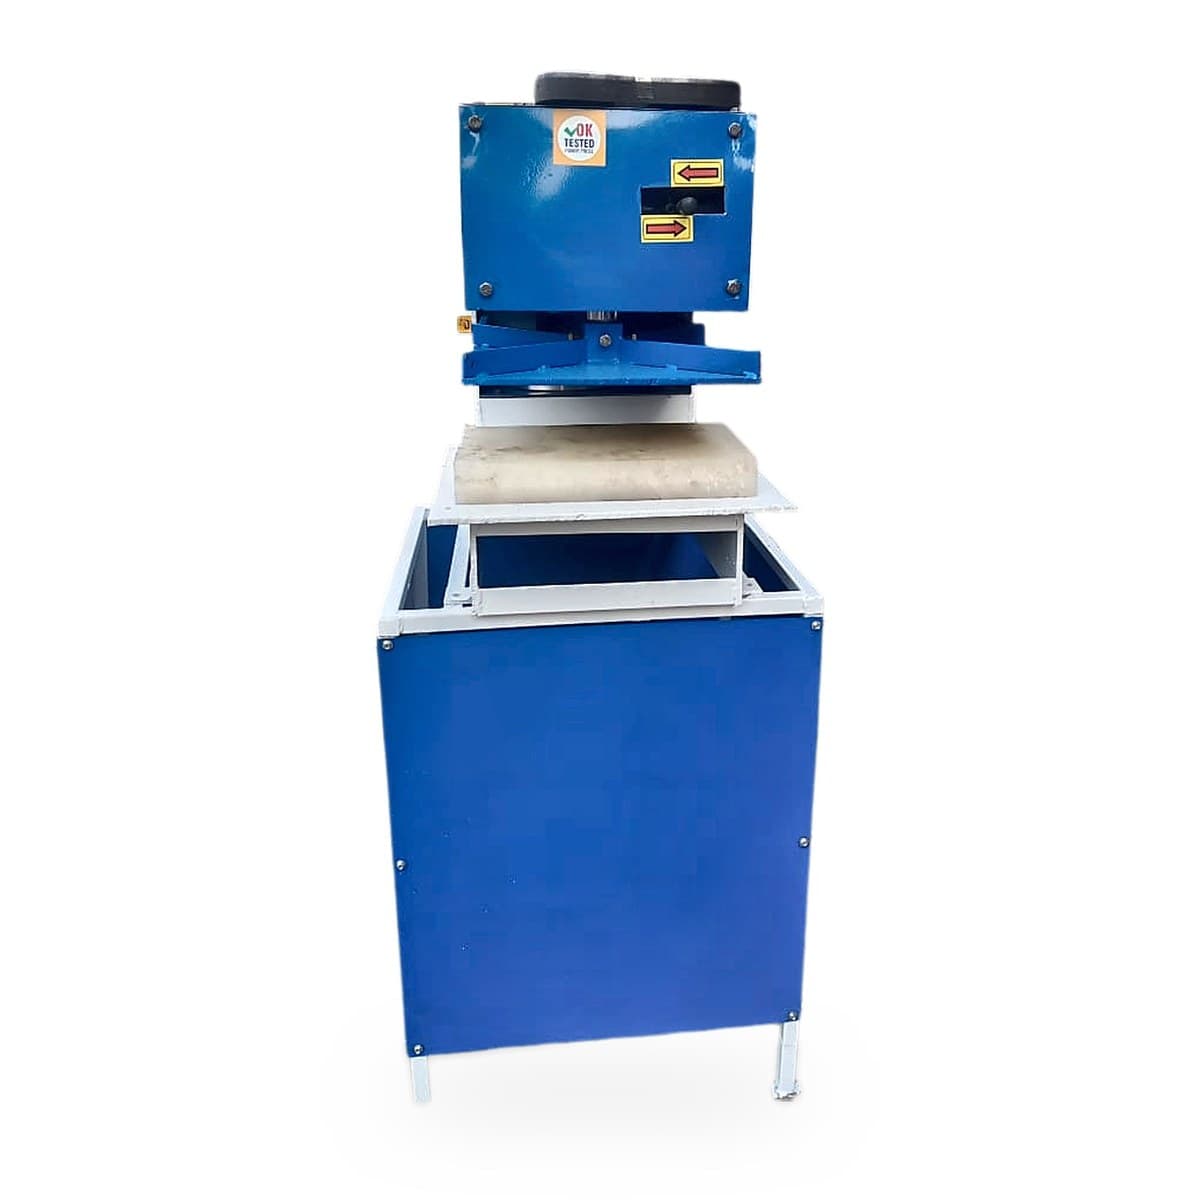
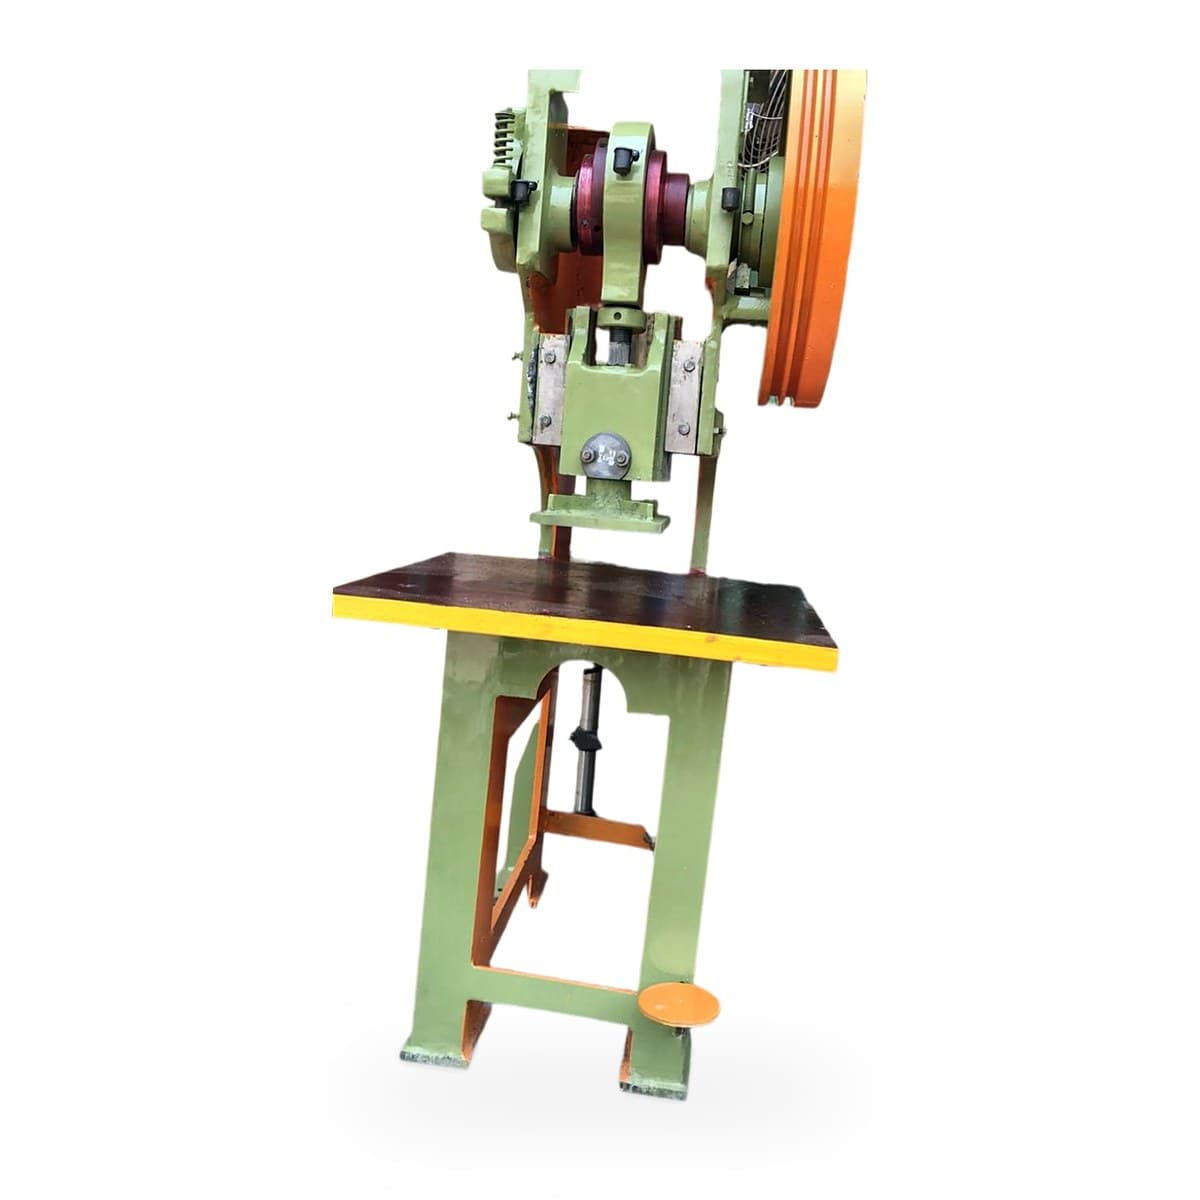
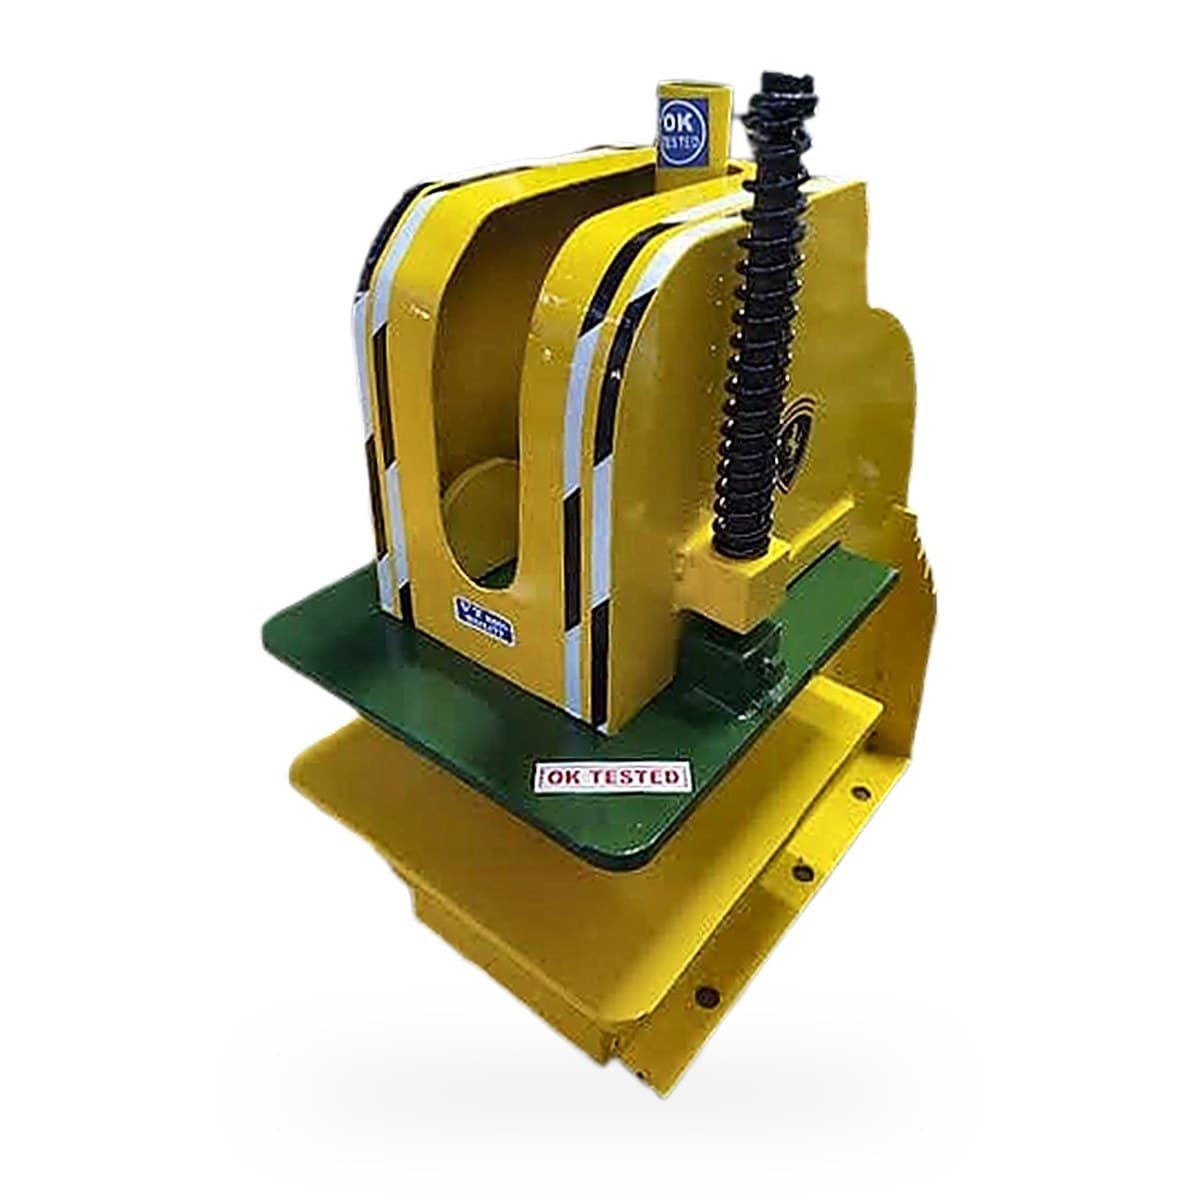
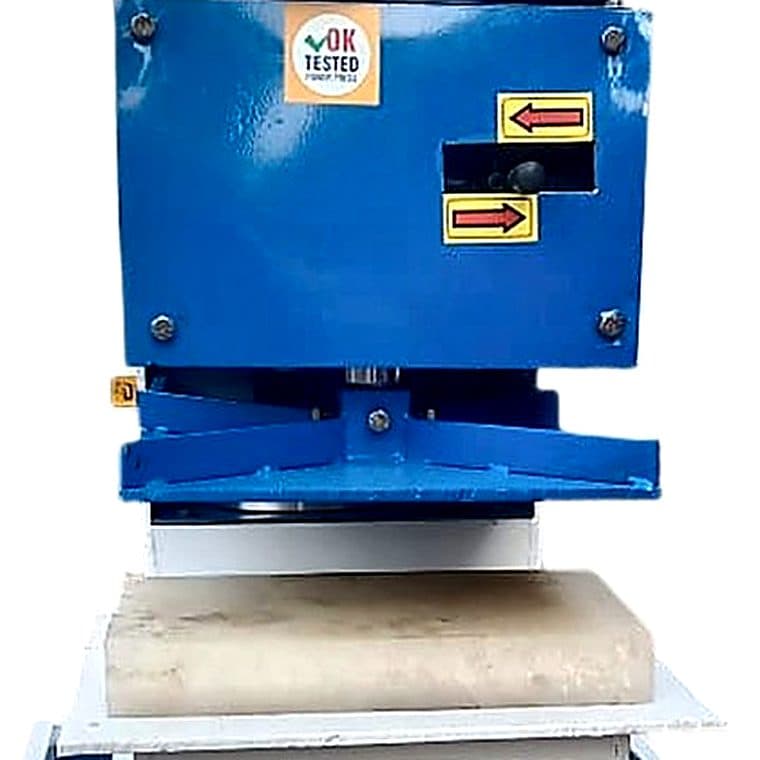
The spring machine is the one shown in the product photo. Its heavy coil spring lifts the head back up after each cut, so the operator only has to push down. It is simpler than a hydraulic slipper making machine and needs no oil or pump, which is a big part of why the set costs less.
Making One Pair, Start to Finish
- Cut. Lay the soling sheet on the bed, place the die, bring the head down. Cut the left and right sole from the same sheet so colour and texture match.
- Mark and drill. Use a template to mark the three strap points, then drill them on the drill-cum-grinder. Holes that wander make straps sit crooked.
- Print (optional). Lay the sole on the printing board and print your design or brand name. Let it dry before handling.
- Bind straps. At the binding table, pull each strap plug through its hole until it seats firmly underneath.
- Grind and check. Run the sole edge lightly against the grinder to remove any tags, then check the pair side by side.
- Pack. Pair, label with size and box or bundle.
Laying Out a Small Room
The set works best as a short line rather than five machines scattered around a room. Put the sheet stack beside the spring machine, the drill-cum-grinder next to it, then the printing board, then the binding table, and finished stock at the end near the door.
Keep offcuts in a sack beside the cutting station rather than on the floor. EVA scraps are slippery underfoot, and they can be sold to recyclers once you have a few sacks.
Buying Your First Material
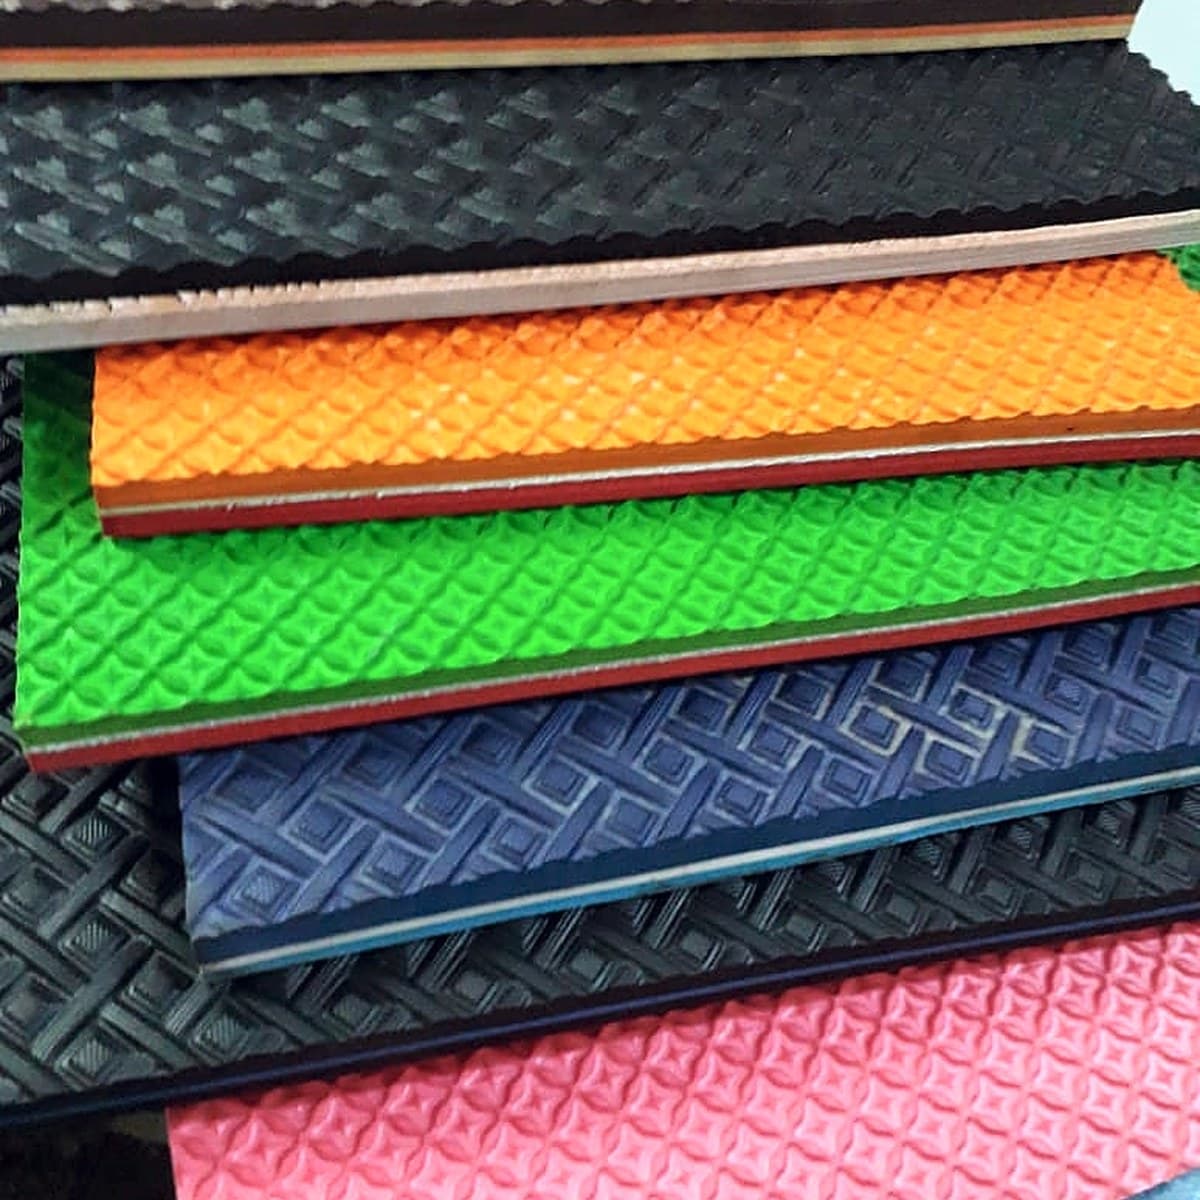
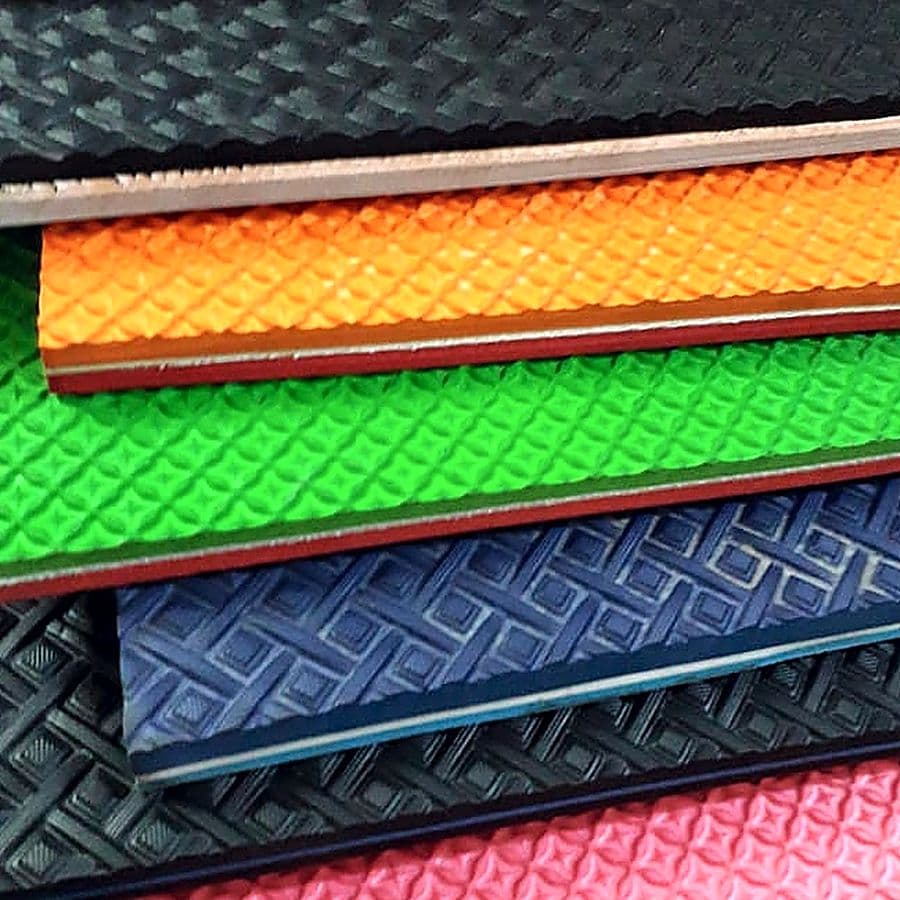
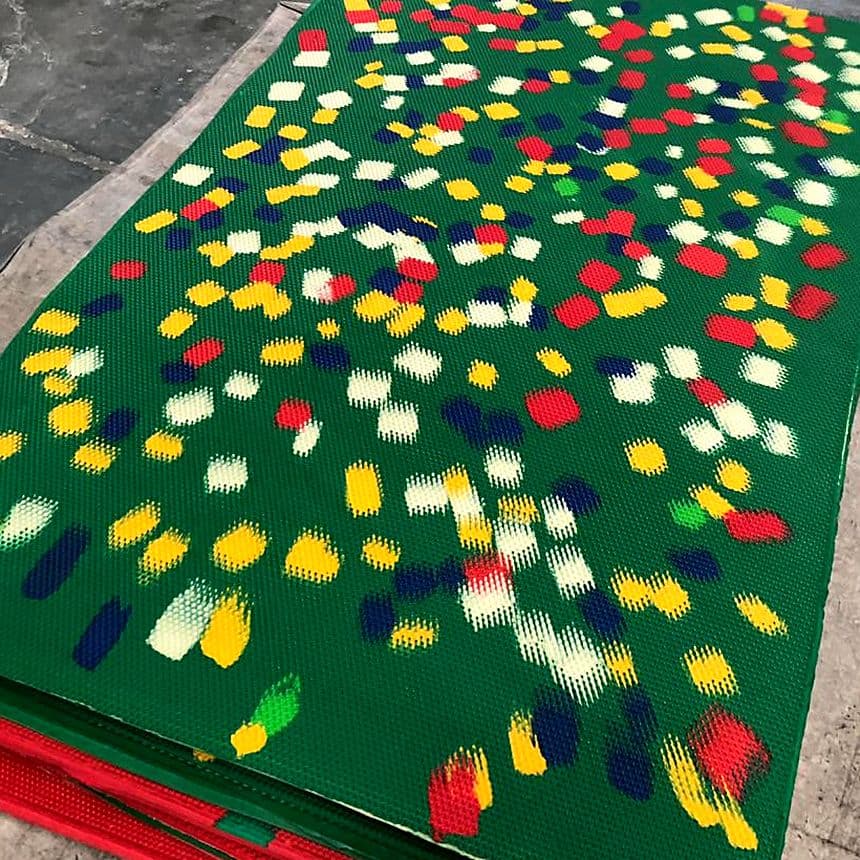
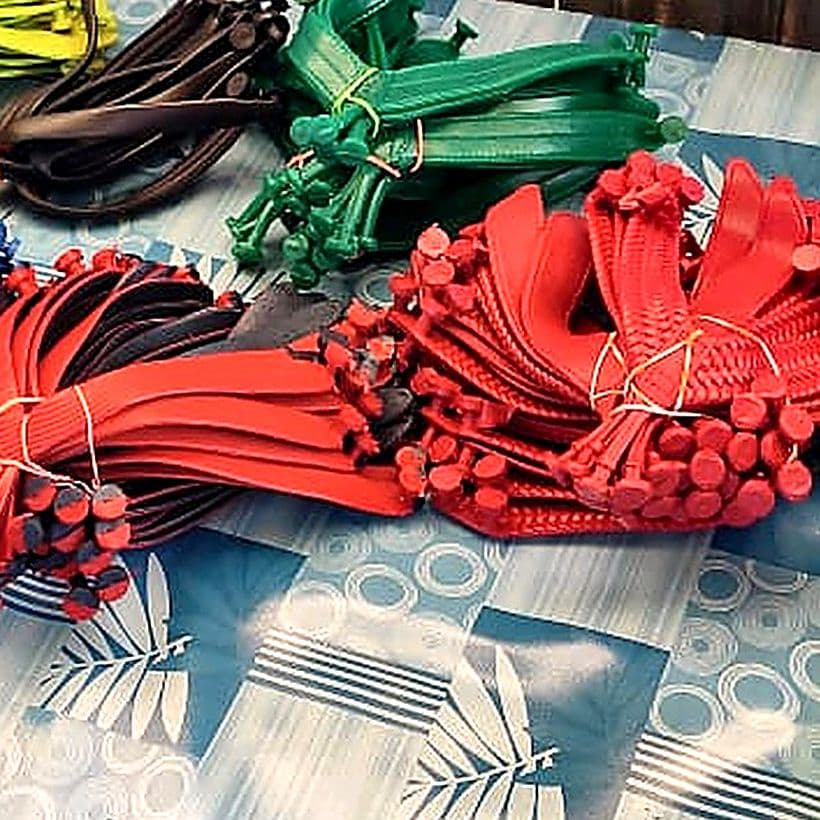
Start with a small range: two or three plain sheet colours, matching straps and dies in your best selling sizes. Our slipper raw material range includes EVA and rubber soling sheets in many colours and textures, printed sheets, straps for gents, ladies and kids (including kids five-pin D/C straps) and slipper boxes.
On a manual cutting machine, a very thick or dense sheet takes more effort to cut. Tell us you are using the manual set and we will suggest sheets that cut comfortably.
Who the Manual Set Suits
- Home-based and small footwear units, as listed in the catalogue.
- People who want to learn the full slipper process before buying a bigger press.
- Self-help groups and family units with more hands than capital.
- Existing units that need a separate finishing line beside their press.
If your local market is food rather than footwear, other low investment starts include a papad and pani puri making machine or a manual paper plate making machine. Pick the product you can sell nearby.
Mistakes New Units Make
Most problems in a new manual unit come from habits rather than from the machines. These are the ones we hear about most often.
- Buying too many colours at once. Every colour needs its own matching straps, and slow colours tie up money on the shelf. Start narrow and add colours as they sell.
- Cutting left and right from different sheets. Two sheets from the same lot can still differ slightly in shade. A pair cut from one sheet always matches.
- Drilling holes by eye. A simple template for each size keeps the strap points in the same place on every sole, so straps sit straight and pairs look identical.
- Skipping the grinder. A few seconds on the grinder removes tags left by the die. Shops notice rough edges first.
- Working with a dull die. A blunt die needs more force on a manual machine and leaves ragged edges. Check die edges every week and get them sharpened before they nick.
None of these cost money to fix. They only need a routine that everyone in the unit follows from the first day.
When to Add a Press
Once orders are steady, cutting by hand becomes the step that holds you back. That is the point to add a press. The upgraded hydraulic slipper making machine gives a smooth, steady stroke, and the 15 ton power press cycles faster for experienced operators. Your binding table, printing board, grinder and dies stay in use, so nothing from the manual set is wasted.
Whatever you add, keep hands clear of every press head during a cut and train each new person before they work alone.
Short Mein Samjhiye (Hinglish Summary)
Is manual set mein paanch cheezein hain: spring cutting machine, strap binding table, printing board, sole dies aur drill-cum-grinder. Inse sheet se poori chappal ban jaati hai, bina bade press ke. Ghar ya chhote unit se shuru karne ke liye achha hai. Sheet, strap aur box bhi humse milte hain. Price ke liye WhatsApp ya call kijiye, GST 18% alag.